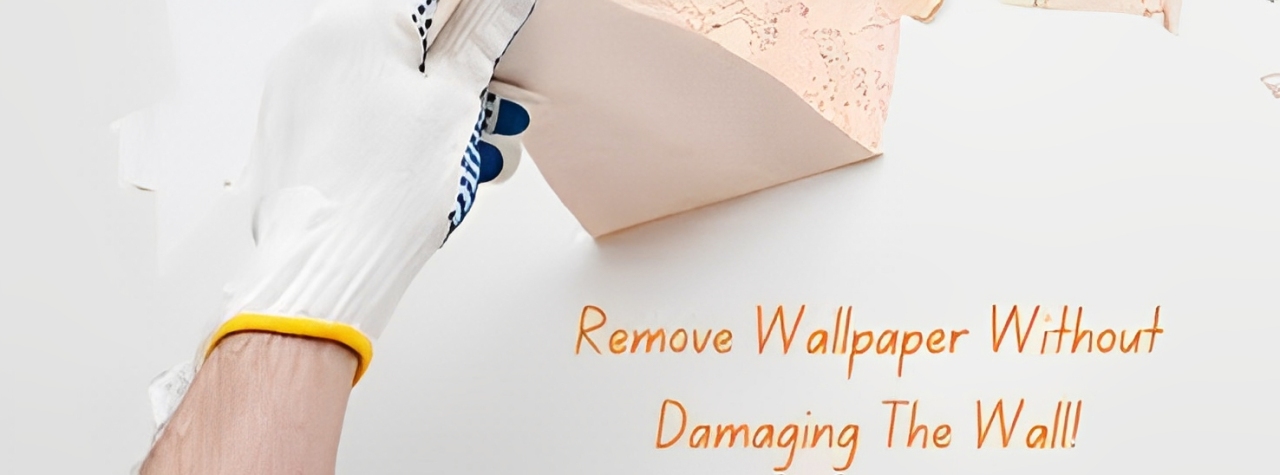
Removing wallpaper can feel like a daunting task, but with the right approach, it can be a rewarding DIY project that refreshes your home. Whether you’re dealing with plaster walls, a textured wall, or even considering load bearing wall removal, understanding the best way to removing wallpaper ensures a smooth process without damaging your walls. This manual explores the best methods, equipment, and advice for wallpaper removal, as well as overcoming difficulties such as wall removal and handling special wall types. Let’s create your space with confidence.
Why Wallpaper Removal Matters
Wallpaper can be adorable, but old or worn-out patterns can age a room. Removing wallpaper it correctly is the most important step to getting walls ready for new paint, textures, or finishes. Going about it the wrong way can ruin plaster walls or make a textured wall more difficult to work with down the line. Also, if structural modifications such as removing wallpaper load bearing walls are in your plans, removing wallpaper cleanly is an essential first step in determining the condition of the wall.
The best way to removing wallpaper depends on the wall type, wallpaper material, and adhesive used. Older homes with plaster walls or homes with textured walls require extra care, while modern drywall might be more forgiving. Let’s explore the process step-by-step to ensure success.
Tools and Materials You’ll Need
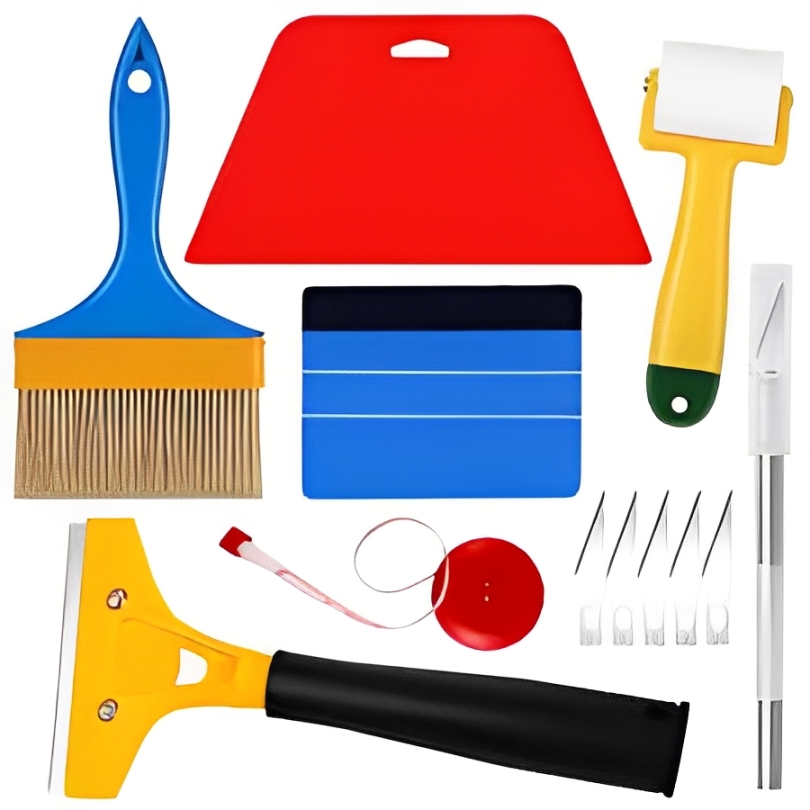
Before diving into wallpaper removal, gather these essentials:
Wallpaper scorer: A tool to perforate the wallpaper, allowing solutions to penetrate.
Spray bottle or garden sprayer: For spraying on stubborn areas of water or stripping solutions.
Wallpaper stripping solution: Store-bought chemicals or homemade solution of vinegar and water.
Putty knife or scraper: For soft removal of wallpaper without gouging.
Drop cloths: To cover floors and furniture.
Bucket, sponge, and rags: For applying solution and wiping up residue.
Steamer (optional): For extremely stubborn wallpaper or textured wall difficulties.
Gloves and safety glasses: To keep hands and eyes safe from chemicals and debris.
For plaster walls or textured walls, consider a wider scraper to avoid damaging the surface. If you’re also exploring load bearing wall removal, consult a structural engineer before removing wallpaper, as wall conditions may affect safety assessments.
You can read this blog also :- https://tidyuphome.com/innovative-small-bathroom-remodel-ideas-for-stunning-renewal/
Step-by-Step: The Best Way to Remove Wallpaper
1. Prepare Your Space
Remove furniture from the room or drape it with drop cloths. Place protective sheets on the floor to catch the debris. Cut off power to the outlets and switches on the wall since water or solutions may be hazardous. In load bearing walls, no work on structures should commence until a professional assesses the role of the wall in the stability of your home.
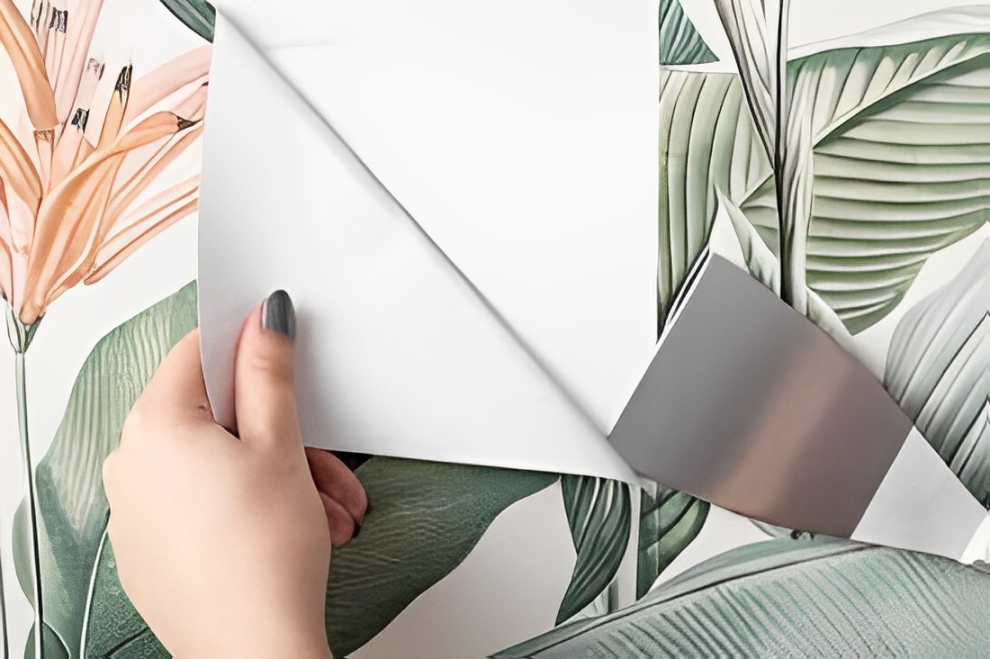
2. Test the Wallpaper Type
All wallpapers are not the same. Peelable or strippable wallpapers peel off readily, but conventional wallpapers take more work. Vinyl wallpapers have a water-resistant coating, making them harder to remove. Start by peeling off a corner. If it peels off readily, you can probably get away with minimal tools. For tough adhesives, particularly on plaster surfaces, you will need a stronger approach.
3. Score the Wallpaper
Use a wallpaper scorer to make small perforations all over the surface. This will let water or stripping solution penetrate and break down the adhesive. Handle plaster walls or textured walls carefully not to harm the surface. Use light, even pressure in a circular motion to pass all the way across the area.
4. Use a Stripping Solution
Combine a commercial wallpaper removal solution as directed on the package, or make your own with half and half warm water and white vinegar. Add a few drops of dish soap for more stubborn adhesives. Spray or sponge the solution over the scored wallpaper and allow it to sit for 10-15 minutes. On textured walls, allow the solution to penetrate thoroughly, as adhesives tend to stick more tenaciously.
5. Employ a Steamer for Tough Wallpaper
If the wallpaper doesn’t come off, a steamer is a miracle worker, particularly on older plaster walls or vinyl wallpapers. Keep the steamer on the wall for 20-30 seconds on each section and then scrape off gently with a putty knife. Steamers are great for removing wallpaper from textured walls, but be careful not to over-steam, as too much water can destroy plaster.
6. Scrape Off the Wallpaper
With a putty knife or scraper, begin at a seam or corner and pry gently at the wallpaper. Work in small areas, reapplying solution or steam when necessary. On plaster walls, use a plastic scraper to avoid gouging. If you’re doing wall removal or load bearing wall removal, check the underlying wall for damage or mold as you remove.
7. Clean Residual Adhesive
Once the wallpaper is removed, there can be sticky adhesive residue left behind. Use warm water or a stripping solution to soak a sponge and gently scrub. For heavy residue, combine hot water with baking soda. On textured walls, a soft-bristled brush may be used without harming the texture. Clean with clean water and dry with a rag to avoid moisture damage.
8. Check and Restore the Wall
After removing wallpaper, inspect for damage. Old plaster walls can develop cracks or flaking, and textured walls can have uneven areas. Sand small blemishes with fine-grit sandpaper. For larger damage, use patching compound and allow to dry before sanding smooth. If planning load bearing wall removal, now is the time to call in a professional to evaluate structural integrity.
9. Prepare for the Next Step
Once the wallpaper is taken down, your walls are prepared for painting, retexuring, or new wallpaper. Paint the walls with a top-grade primer to lock in the surface and create a smooth finish. Use a primer formulated for rough surfaces on textured walls. Wall removal may be included in your project, so make sure to removing wallpaper and adhesive so it does not create problems during demolition.
Special Considerations for Different Wall Types
Plaster Walls
Plaster walls, found in older houses, are long-lasting but crack easily when improperly handled. Do not scrape or soak excessively, as water will soften plaster. Scrape using a plastic tool and work in small areas. If the plaster is damaged, have a professional inspect it before attempting wallpaper removal or wall removal.
Textured Walls
Textured walls are difficult to remove because adhesive can get into crevices and be harder to remove. Steam or heavy use of stripping solution is needed to loosen the glue. Take your time, because hurry can cause damage to the texture, necessitating expensive repair.
Load Bearing Walls
If you’re removing wallpaper from a load bearing wall, proceed with caution. These walls support your home’s structure, and any damage could have serious consequences. Always consult a structural engineer before combining wallpaper removal with load bearing wall removal. They can assess whether the wall can be safely altered or removed.
Common Challenges and Solutions
Stubborn Adhesive: For unyielding glue, use a gel stripper solution, which sticks more than liquid. Apply and leave 20 minutes before scraping.
Torn Wallpaper: If the paper tears into small strips, reapply solution or steam to loosen major sections. Be patient.
Damaged Walls: Small nicks can be sanded, but more serious damage on plaster walls could involve patching or professional work.
Mold Issues: If you notice mold while removing wallpaper, take a halt and call in a mold remediation specialist, particularly on load-bearing walls.
Green Wallpaper Removal Hints
For a green solution, employ natural products such as vinegar and water to replace chemical removers. Rent a steamer to save water, and recycle usable materials, such as drop cloths. removing wallpaper residue properly, since some vintage wallpapers have toxic materials such as lead.
When to Hire a Professional
DIY removing wallpaper is possible, but there are situations where a professional is necessary:
Severe plaster wall or textured wall damage.
Wallpaper on load-bearing walls where structural issues are involved.
Older wallpaper that may contain asbestos (typical of houses constructed prior to the 1980s).
Huge projects where time or equipment is of the essence.
Experts can also provide guidance on how to remove walls or remove load bearing walls, keeping it safe and within building codes.
Conclusion: Mastering the Best Way to Remove Wallpaper
Removing wallpaper is a life-altering move towards updating your home. By following the best way to remove wallpaper—preparing thoroughly, using the right tools, and adapting to your wall type—you can achieve a clean, ready-to-finish surface. Whether you’re working with plaster walls, a textured wall, or navigating load bearing wall removal, patience and care are your allies. Take your time, protect your walls, and enjoy the satisfaction of a job well done. Your freshly nude walls are a blank slate for your next design quest7