There’s something deeply satisfying about running your hand across a perfectly smooth wall, knowing that beneath that flawless surface lies your own craftsmanship. Whether you’re a weekend warrior tackling your first home renovation or a seasoned DIYer looking to refine your technique, mastering drywall plaster is one of those skills that separates the amateurs from the pros.
I’ve spent countless hours perfecting walls, and I can tell you that the difference between a mediocre finish and a professional-grade result often comes down to understanding the nuances of drywall plaster application. Today, I’m sharing everything I’ve learned about creating those seamlessly smooth walls that make guests wonder if you hired a contractor.
Understanding Drywall Plaster: The Foundation of Perfect Walls

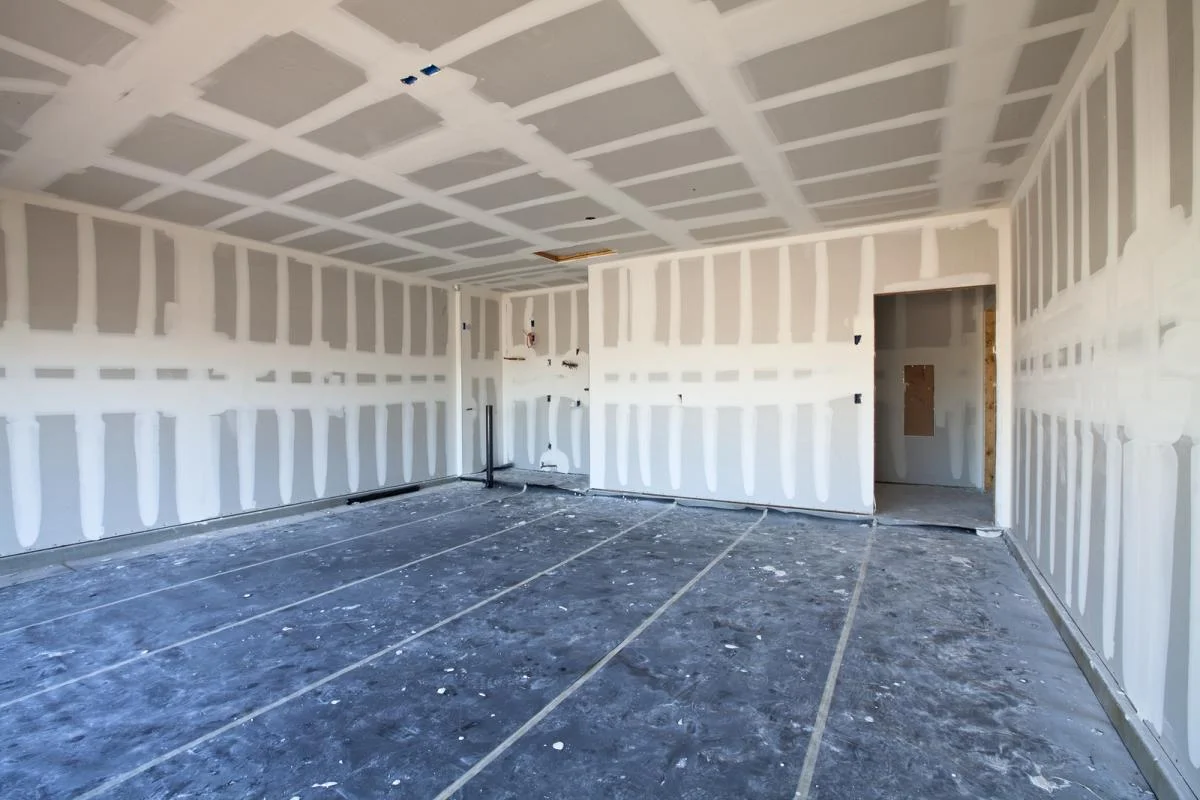
Drywall plaster isn’t just about slapping some compound on a wall and calling it good. It’s a delicate balance of material science, technique, and patience. The plaster serves multiple purposes: it hides imperfections, creates a uniform surface for paint, and provides that professional finish that makes all the difference in how a room feels.
Modern drywall plaster comes in several varieties, each designed for specific applications. Ready-mixed compounds offer convenience for smaller projects, while powdered versions give you more control over consistency and working time. Understanding which type to use in different situations is crucial for achieving that seamless finish we’re all after.
The key to successful drywall plaster lies in building up thin, even coats rather than trying to fix everything with one thick application. Think of it like painting a masterpiece – you wouldn’t expect to create depth and richness with a single brushstroke, and the same principle applies to plastering.
You can read this blog also :- Drywall Texture Ideas That Can Instantly Transform Your Space
Essential Tools and Materials for Success
Having the right tools makes the difference between struggling through a project and enjoying the process. Your basic arsenal should include various sizes of putty knives and taping knives, ranging from 4 inches for detail work up to 12 inches for broad, smooth strokes. A good quality hawk for holding your plaster keeps your workspace organized and your material at the perfect consistency.
Don’t overlook the importance of quality sandpaper and sanding blocks. Fine-grit paper, typically 120 to 220 grit, helps achieve that glass-smooth finish between coats. A pole sander can save your back when working on large wall areas, and trust me, your future self will thank you for this investment.
For materials, start with high-quality joint compound appropriate for your project. All-purpose compound works for most applications, but consider lightweight options for easier handling on large jobs. Primer specifically designed for new plaster ensures your final paint job looks professional and lasts longer.
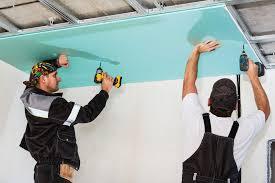
Step-by-Step Application Techniques
The magic happens in the application, and this is where patience truly becomes a virtue. Start by preparing your surface properly – clean walls, filled holes, and a dust-free environment set you up for success. Any shortcuts here will show in your final result.
Apply your first coat with steady, even strokes, holding your knife at about a 30-degree angle to the wall. The goal isn’t perfection on this first pass; you’re creating a foundation. Work in manageable sections, typically 4 to 6 feet wide, maintaining a wet edge to avoid visible lap marks.
The second coat is where your technique really starts to matter. Use slightly more pressure and longer strokes, feathering the edges to blend seamlessly with adjacent areas. This coat should eliminate most visible imperfections while building up the surface uniformity you need.
Your final coat requires the lightest touch and the most attention to detail. Use your widest knife and apply minimal pressure, focusing on creating that perfectly smooth surface that will make your paint job shine. Some professionals prefer to thin their final coat slightly for easier application and a smoother finish.
Common Mistakes and How to Avoid Them
Even experienced DIYers make mistakes that can compromise their results. One of the most common errors is applying coats too thick, which leads to cracking, poor adhesion, and an uneven surface that’s difficult to sand smooth. Remember, multiple thin coats always beat one thick application.
Rushing the drying process is another pitfall that can ruin hours of careful work. Each coat needs adequate time to cure completely before sanding or applying the next layer. Humidity and temperature affect drying times significantly, so adjust your schedule accordingly. A hastily applied coat over insufficiently dried plaster often results in bubbling, peeling, or an uneven texture.
Poor sanding technique can also sabotage an otherwise good plastering job. Sand too aggressively, and you’ll create gouges and uneven surfaces. Sand too lightly, and you won’t eliminate the imperfections that will show through your paint. Use consistent, light pressure with circular motions, and always sand between coats for optimal results.
Advanced Techniques for Professional Results

Once you’ve mastered the basics, several advanced techniques can elevate your work to professional levels. The “skip trowel” technique creates subtle texture while maintaining smoothness, perfect for hiding minor imperfections in older walls. This involves applying plaster with a standard knife, then lightly dragging a clean trowel across the surface in random patterns.
Creating perfectly straight, crisp corners requires a specific approach that many DIYers struggle with. Use corner beads for outside corners, but for inside corners, the technique involves careful knife positioning and understanding how the plaster flows. Practice on scrap drywall before tackling your main project.
For large wall expanses, consider the “float and set” method used by professional plasterers. This technique involves applying plaster with a float (a flat, rectangular tool), then immediately smoothing with a knife. The result is incredibly even coverage with minimal sanding required.
Troubleshooting and Repair Strategies
Even with perfect technique, issues can arise that require quick thinking and effective solutions. Bubbles in your plaster usually indicate trapped air or moisture, and the best approach is to cut them out when dry and re-plaster the area rather than trying to sand them smooth.
When you encounter streaking or visible knife marks in your dried plaster, resist the urge to sand heavily. Instead, apply a thin skim coat over the affected area, using a wider knife with lighter pressure. This approach preserves your previous work while eliminating the imperfections.
Hairline cracks often develop as plaster cures, especially in areas with temperature fluctuations. These are easily addressed by gently opening the crack with a putty knife, cleaning out any loose material, and filling with a small amount of compound. Feather the repair into the surrounding area for invisible results.
Finishing and Final Preparation
The transition from plastered wall to painted surface requires careful attention to detail. After your final coat has fully cured, a thorough sanding with fine-grit paper creates the smooth surface your paint needs to look its best. Use a bright work light held at an angle to the wall – this reveals any imperfections that need additional attention.
Proper priming cannot be overstated in its importance. Unpainted plaster is extremely porous and will absorb paint unevenly, creating a blotchy appearance that no amount of additional paint coats will fix. Use a high-quality primer designed for new plaster, and don’t skimp on coverage.
Maintenance and Long-Term Care
Well-applied drywall plaster should last for decades with minimal maintenance, but understanding how to care for your investment ensures lasting beauty. Minor dings and nail holes are easily touched up with a small amount of compound and careful sanding once dry.
Regular dusting and gentle cleaning help maintain the pristine appearance of your plastered walls. Avoid harsh chemicals or abrasive cleaning methods that can damage the surface or create areas that will show when you eventually repaint.
Conclusion: Your Path to Perfect Walls
Mastering drywall plaster is a journey that rewards patience, practice, and attention to detail. The satisfaction of creating perfectly smooth, professional-looking walls with your own hands is hard to match, and the skills you develop will serve you well in countless future projects. Remember that every professional started as a beginner, and every smooth wall you see was once rough drywall that someone transformed through careful application of these techniques. Start with smaller, less visible areas to build your confidence, and don’t be afraid to take your time – the results will speak for themselves.
With the right tools, materials, and techniques outlined in this guide, you’re well-equipped to create the flawless walls that will become the perfect canvas for your interior design vision. Take pride in the process, learn from each project, and soon you’ll be achieving results that rival professional contractors.